 Build Faster with AfterBox
Access over 4000 ready-to-use materials for Unreal Engine, V-Ray and Corona.
Create your account and receive $12 free credit.
Downloading the Software
First, simply click here to download the AfterBox software file.
Installing the Software
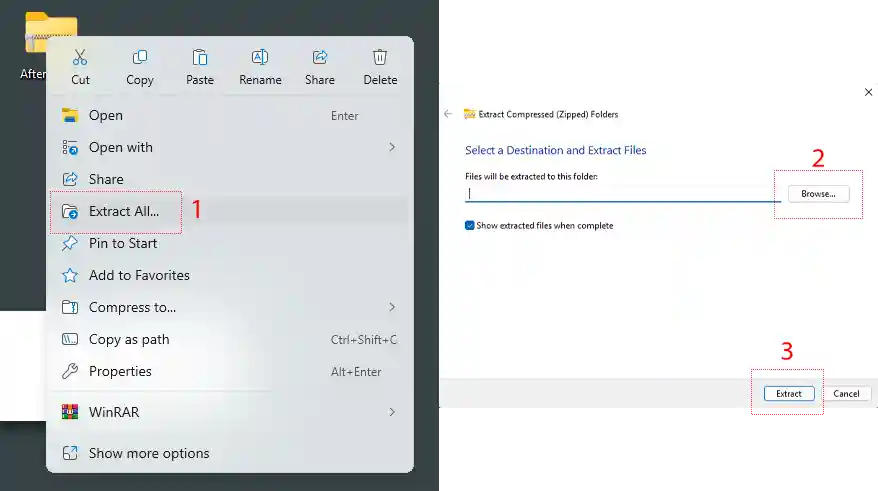
After downloading, you will have access to the file named AfterBox.zip. Right-click on this file and select “Extract All.” In the window that opens, click on “Browse…” to choose the extraction location (for example, your desktop). Then, click on the “Extract” button to begin the extraction process.
Running the Installer
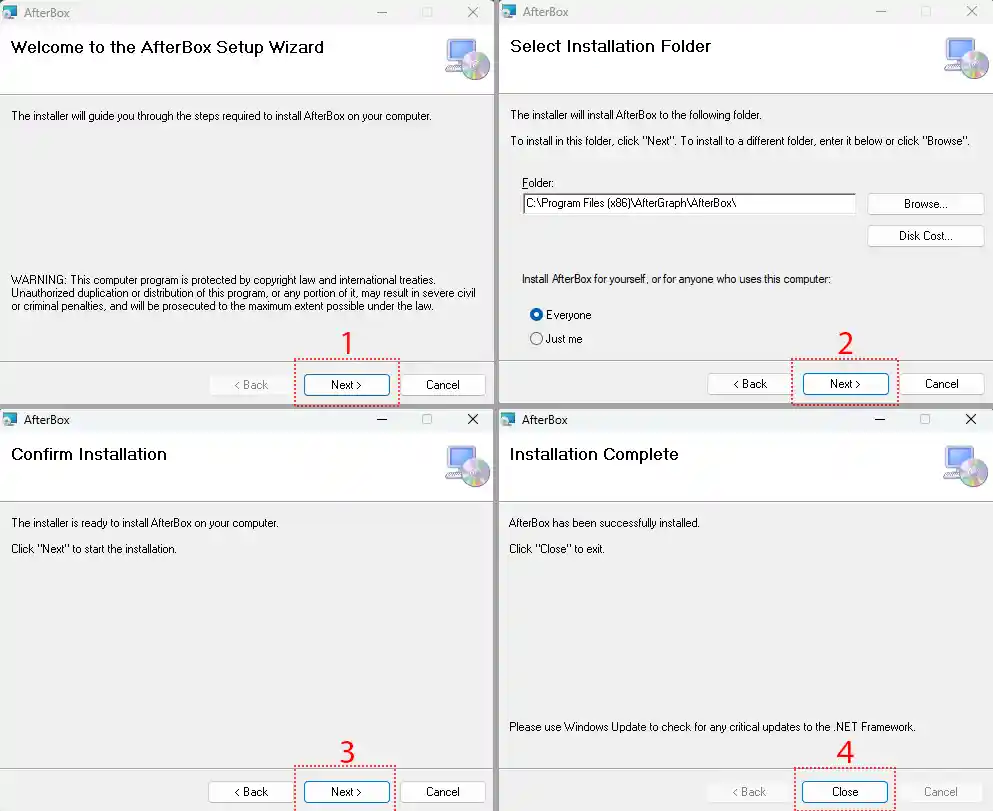
After extracting the zip file, simply double-click on the AfterBox.msi file. In the window that opens, click Next as shown in the image below.
On the following screen, do not change the default installation path. The software is very lightweight, so it’s best to leave it installed on the C drive. Don’t worry about disk space—after installation, you can change the download path for files directly from within the AfterBox application.
Next, click Next again to begin the installation.
Once the installation is complete, click Close to exit the installer.
You’ll now see the AfterBox icon on your desktop. Double-click the icon to launch the application.
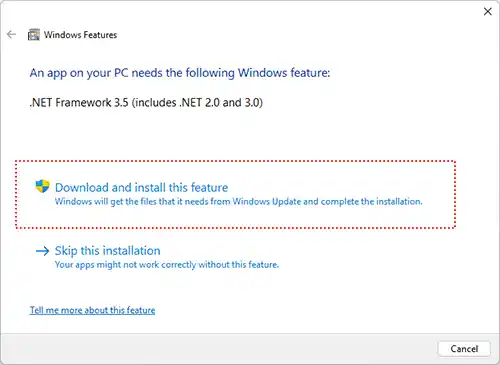
You can simply click on the Download button in the prompt to automatically install the required .NET Framework.
Alternatively, you can click here to download and install it manually from the official Microsoft website.
Using the AfterBox Software
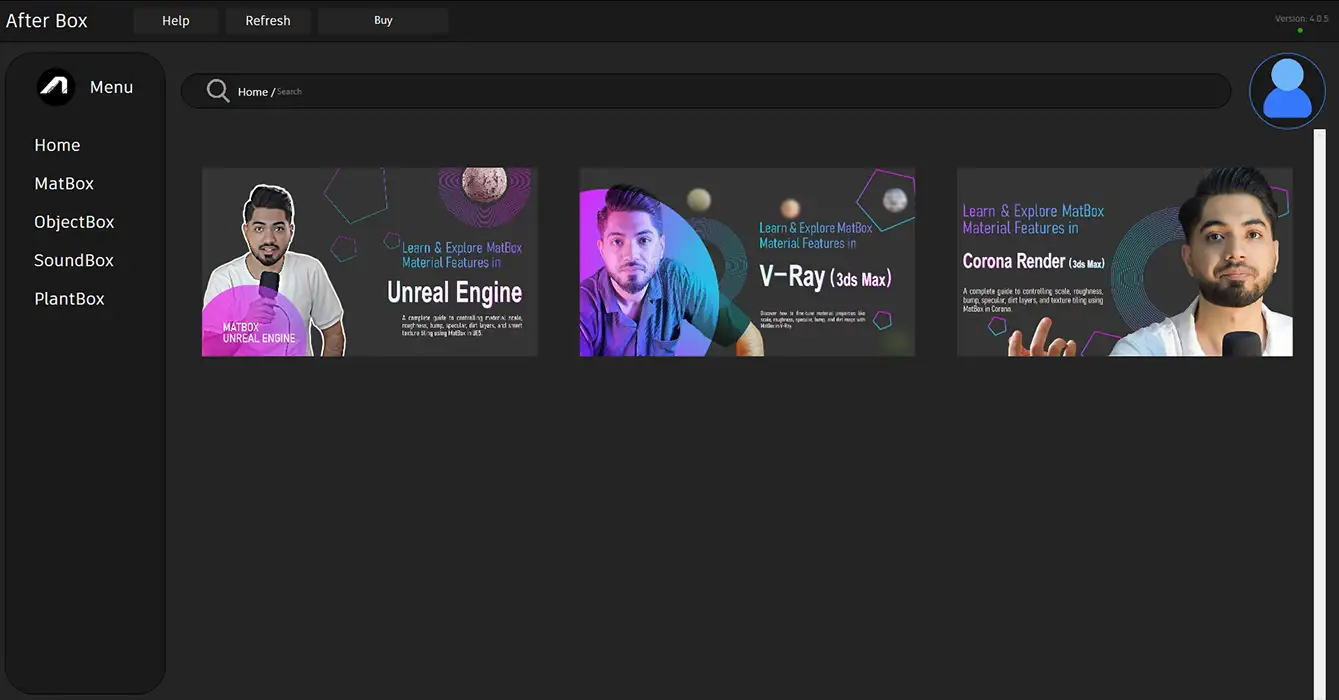
Using AfterBox is extremely simple and user-friendly. Here’s a quick overview of the main sections based on the image below:
-
Version Info
In section 1, you can see the current version of the AfterBox software. -
Login to Your Account
In section 2, click to open a login window. Enter the email and password you used to register on the AfterGraph website to access your personal account. -
Tutorials Section
Section 3 contains all the necessary tutorials. Just click to view the training material you need. -
Library Categories
Section 4 gives you quick access to all library categories available in AfterBox.