
In the Texture Tile section under UVW Mapping, adjust the Tiling and Offset values for both the U and V directions.
 Build Faster with AfterBox
Access over 4000 ready-to-use materials for Unreal Engine, V-Ray and Corona.
Create your account and receive $12 free credit.
In this tutorial, we’ll explore how to use material library ready-made materials in Corona Renderer For 3DsMAX. material library for Corona Renderer is a professional material pack that lets you enhance your projects faster and with higher quality, eliminating the need to create materials from scratch.
Key Features of material library for Corona Renderer:
✅ Scale Adjustment – Control texture size proportionally or independently.
✅ Color Correction – Modify hue, saturation, brightness, and contrast.
✅ Surface Refinement – Adjust roughness, specular, and normal maps for realistic detail.
✅ Tile & Dirt Effects – Add realistic wear, grime, and tiling with a single click.
Try material library for Corona Renderer for free, click HERE.
Corona Render Material Controls
Complete Guide to Using Corona Renderer Materials in 3ds Max with material library
Enabling Corona Renderer in 3ds Max
To use Corona Render materials, first activate Corona as your renderer:
-
Press F10 or go to Render Setup → Common tab.
-
Under Assign Renderer, set both Production and Material Editor to Corona.
-
Close the window.

Opening the Material Editor
-
Use the Compact Material Editor (no need for Slate Editor).
-
Navigate: Rendering > Material Editor > Compact Material Editor (or press M).

Applying Materials to 3D Models
-
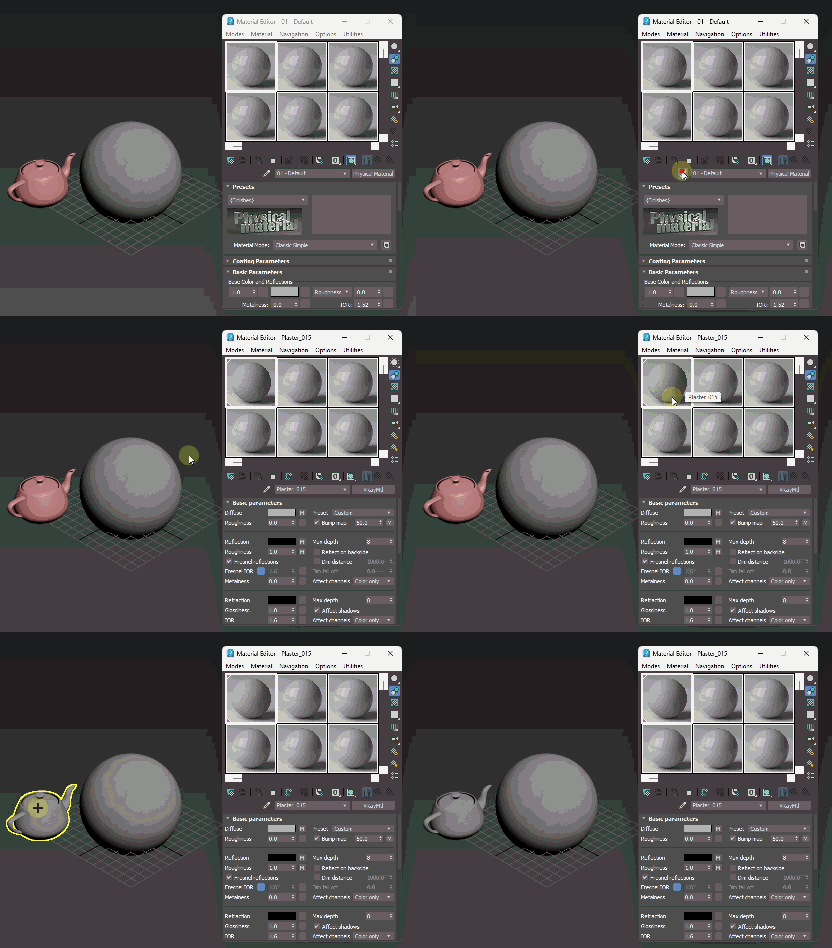
In the Material Editor, pick a material slot.
-
Click Pick Material from Object (
 ) and select your material sphere.
 -
Drag & drop the material onto any object to apply it.
material library for Corona Renderer Settings & Features
Diffuse Settings
To access:
-
Open the Material Editor (Shortcut:
M) -

Color Map – corona Navigate to the Color Map section
Activating Dirt Effects for Materials
-

Select Mode Dirt Click on “Select Mode Dirt”
-

Active Dirty in Corona Enable the “Active Dirty” checkbox
Customizing Dirt Effects
Now that dirt is activated, you can customize:
-
Color • Intensity • Type • Scale
How to Adjust:
-
Click “Active Dirty” (shown in image above)
-
Available parameters will appear:
To change dirt COLOR:
-

Color Dirt – corona Click “Color Dirt”
Configuring Dirt Color Options
After clicking “Color Dirt”, you’ll see two options:
-
Solid Color
-
Texture
How to Set Up:
🔹 For Texture-Based Dirt:
-
Disable the “Color” checkbox
-
Enable the “Texture” checkbox
-
Click the texture slot
- Then you’ll see two options. Click on “Texture Dirt-Diffuse” — you can choose to check the box or leave it unchecked; if checked, triplanar will be disabled, but if left unchecked, both will work together.
and specify your desired texture in the Bitmap section
🔹 For Solid Color Dirt:
-
Keep the “Color Dirt” checkbox enabled
-
Click on the Solid color swatch to select your preferred color
To go back one step:
Simply click the at any time.
Dirt Intensity – corona Fine-Tuning Dirt Intensity
Step-by-Step Adjustment:
-
Click on “Intensity Dirt (Mix)” and Click on ”Intensity Dirt (Corona Color)”
-
In the color picker:
-
White (RGB 255,255,255) → Reduces dirt visibility (subtle effect)
-
Black (RGB 0,0,0) → Increases dirt prominence (strong contrast)
-
Gray Values → Intermediate intensity levels
-
Pro Tip: For natural weathering:
-
Use 85-95% black for aged surfaces
-
20-40% gray works best for mild surface dust

Dirt Intensity – corona renderer -
-
Changing Dirt Texture Type
Step-by-Step Instructions:
Color Bitmap>Select Mode Dirt (CoronaSelect)>Active Dirty (Mix)>Intensity Dirt (Mix)>Texture Dirt (CoronaSelect)>Texture Dirt
-
Click on “Texture Dirt (CoronaSelect) and Texture Dirt” in the Material Editor.
-
Switch to AfterBox:
-
Navigate to:
Material library > Texture > Dirt -
Locate and download your preferred dirt texture.
-
-
Apply in 3ds Max:
-
Drag & drop the downloaded texture onto the Bitmap slot in the Material Editor.
-
Release to update the dirt pattern.
-
Adjusting Dirt Scale
Quick Guide:
- Locate the Color Bitmap>Select Mode Dirt (CoronaSelect)>Active Dirty (Mix)>Intensity Dirt (Mix)>Texture Dirt (CoronaSelect)> Active Triplanar Dirt (CoronaTriplanar)
-
Modify the “Size” value:
-
Lower numbers = Smaller, more frequent dirt details
-
Adjusting Dirt Scale Higher numbers = Larger, more spread-out weathering
Important Note: Viewing Dirt Effects
Visibility Requirements:
-
Changes to dirt settings will only display in:
-
High Quality Viewport Mode
-
Final Render Output
-
How to Check in Viewport:
-
Set viewport shading to:
-
“High Quality” (3ds Max)
-
“Realistic + Materials” (Corona Interactive)
-
-
Press Shift+Z to refresh the view
-
-
Activating Tile Effects for Materials
Step-by-Step Instructions:
-
Navigate to Color Map
-
In the Material Editor, locate and click on “Color Map”
-
-
Toggle Tile Mode
-
Enable the
Active Tilecheckbox💡 Important Note:
-
Enabling tiles won’t disable existing dirt effects (both can work simultaneously)
-
Dirt settings remain fully adjustable
-
-
Customizing Tile Effects
Color Bitmap>Active Tile (Mix)
1. Changing Tile Color
-
Click “Color Tile (CoronaColor)”
-
Select any color from the palette
2. Adjusting Tile Intensity
-
Click “Intensity Color Tile (Mix)”
-
In the new panel, click the parameter again
-
Use the black-to-white gradient:
-
Black (0,0,0) = Maximum tile visibility
-
White (255,255,255) = Minimum visibility
-
3. Modifying Tile Pattern
- Locate the: Color Bitmap>Active Tile (Mix)>Intensity Color Tile (Mix)>Mode triplanar For Tile (CoronaSelect)>Texture Tile
-
In AfterBox:
-
Go to:
Material library> Texture > Tile -
Download your preferred tile texture
-
-
In 3ds Max:
-
Drag & drop the texture onto the Bitmap slot
-
- Resizing Tiles:

Resizing Tiles
Color Correction Settings
Step-by-Step Access:
-
Navigate to:
Color Map → Select Mode Dirt → Disable Dirt → DifTexture -
Click on the Base Layer → DifTexture
-
Adjust parameters under the Color section
Color Adjustment Parameters
| Control | Effect | Recommended Range |
|---|---|---|
| Hue | Shifts overall color tone | ±15° for natural tweaks |
| Saturation | Increases/decreases color intensity | 0.8–1.2 for realism |
| Brightness | Controls lightness/darkness | ±10% subtle adjustments |
| Contrast | Enhances tonal separation | 1.0–1.3 for punchier materials |

Adjusting Material Scale (UV Tiling)
Step-by-Step Guide:
-
Navigate through:
Color Map → Select Mode Dirt → Disable Dirt →DifTexture → Mode Triplanar (CoronaSelect) → Randomizer → Map
-
In UVW Transform:
-
Modify Tiling U (Horizontal scale)
-
Locate Bump Map
-
In Material Editor, navigate to the Bump Map section
- In the next step, specify whether the tile should be enabled for the bump map or not.

UV Tiling – corona renderer material library Modify Tiling V (Vertical scale)
-
-
-
-
-
-
Bump Map Settings
Controlling Surface Detail
-
-
Adjust Intensity
-
Change the Strength mult (typically 0-1)
-

Bump Map Settings Activating Bump Effects for Tiles
Step-by-Step Setup
-
Prerequisite
-
Ensure tile effects are already enabled in Diffuse Map
-
-
Enable Tile Bump
-
Check the “Active Tile Normal” checkbox
-
To change the bump tile type, go to the following path and drag the Normal texture of the tile from
Material libraryinto a Bitmap node:
Bump Map → Active Tile Normal (Mix) → Mode Triplanar For Normal Tile → Disable TriPlanar Normal Tile → Texture Normal Tile
💡 Important Note: To adjust the depth of seams (bump intensity), change the Strength Mult value under Disable triPlanar Normal Tile.
-
-
Configuring Specular & Roughness for Dirt Effects
1. Accessing Specular Controls
-

Specular Map Navigate to:
Material Editor → Specular Map
2. Enabling Dirt Specular
-
✅ Enable: “Active Dirt” checkbox
3. Adjusting Specular Intensity
-
Click “Intensity Dirt”
-
Use the color picker:
-
White (255,255,255): Maximum reflectivity
-
Black (0,0,0): No reflection
-
Gray Values: Intermediate levels
-

Intensity Dirt .
4. Controlling Roughness
-
Follow identical steps as reflections
-
White = Matte surface (high roughness)
-
Black = Glossy surface (low roughness)

Roughness Map Displacement Map Controls
Key Settings
-
Access Path:
Material Editor → Displacement -
Intensity Adjustment:
-

Displacement Map -
Decrease value for subtler effects
*(Typical range: 0.5-5.0 cm for architectural materials)*
-
-
