
 Build Faster with AfterBox
Access over 4000 ready-to-use materials for Unreal Engine, V-Ray and Corona.
Create your account and receive $12 free credit.
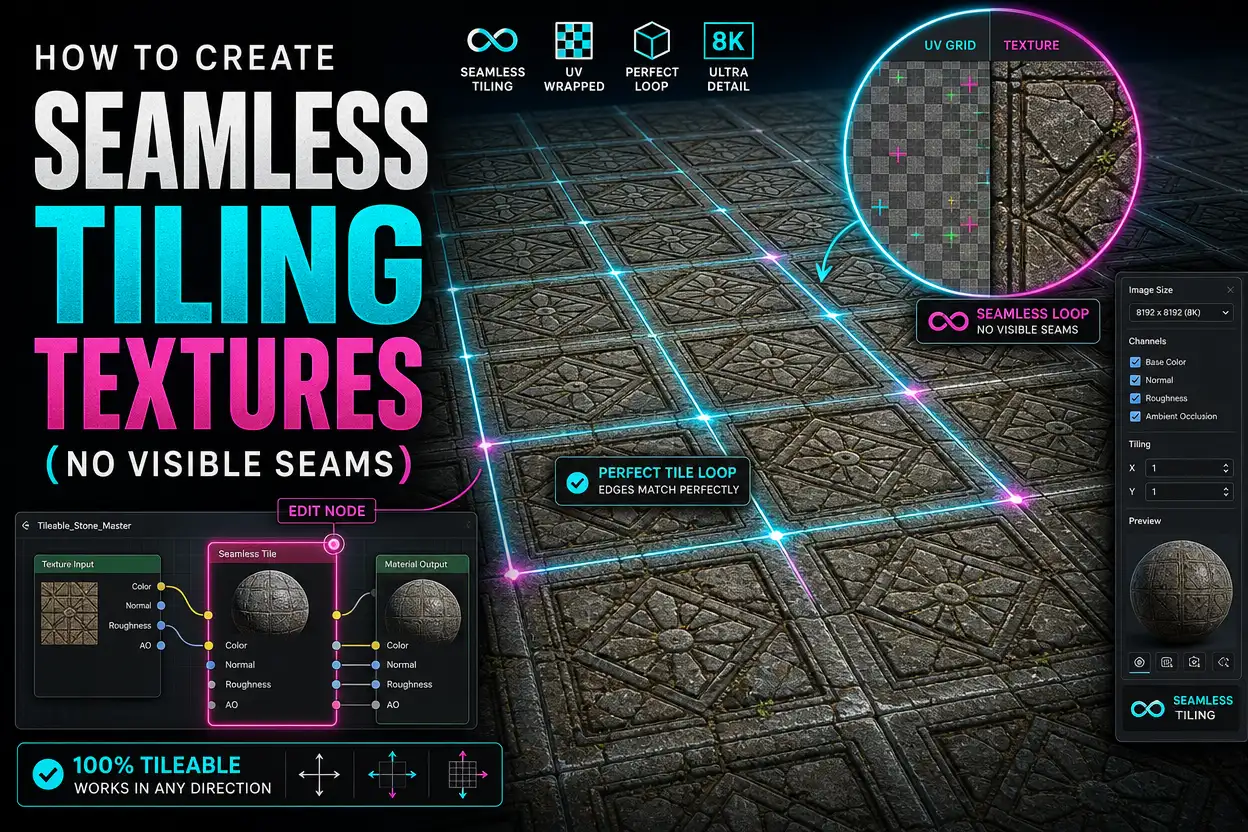
When working on digital 3D scenes, achieving realistic surface details is a core challenge. Many artists wonder how to create seamless tiling textures (no visible seams) without spending hours manually painting out grid lines. Rather than relying on unique, custom-painted maps for every single square inch of a project, the industry standard relies on tiling textures. These repeatable image maps cover massive surface areas efficiently while maintaining high pixel density.
Using a professional material library saves significant production time, but understanding the underlying mechanics of pattern repetition helps you troubleshoot tricky visual artifacts. Even when using professional assets, improper scaling or incorrect application techniques can instantly break the illusion of realism.
What Makes a Texture Seamless?
A texture is considered seamless when its opposing edges match up perfectly. When multiple copies of the image are placed side by side, the human eye cannot detect where one tile ends and the next begins. Achieving this mathematically requires wrapping the image data so that the left edge mirrors or blends seamlessly into the right edge, and the top seamlessly merges with the bottom.
In standard production workflows, creating a tiling texture traditionally involves image editing software. Artists take a standard image, apply an offset filter to push the outer seams into the center of the canvas, and then manually paint out the visible cross-like intersection using cloning and healing tools. While this manual method works well for custom photographic sources, modern visualization pipelines often rely on pre-made libraries that bypass this tedious step entirely.
How to Remove Visible Seams
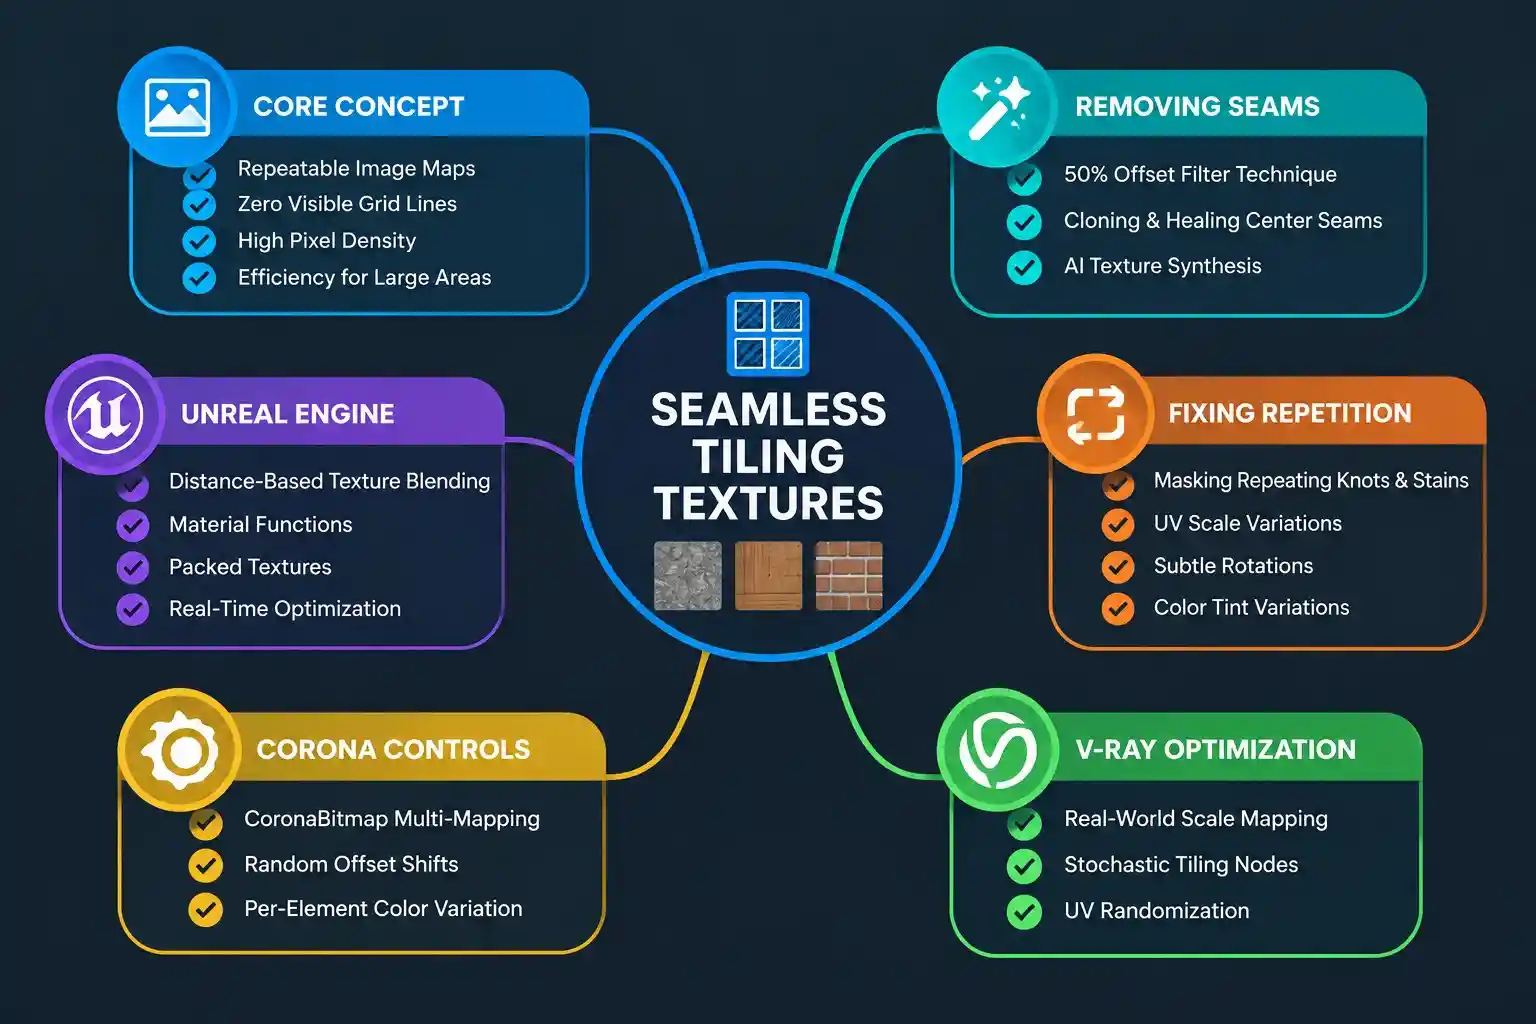
If you encounter a texture that betrays its grid structure, you need a reliable method to eliminate the abrupt visual boundaries. The classic offset-and-clone technique remains the most dependable manual fix for raw bitmap files. By shifting the image horizontally and vertically by exactly half of its pixel dimensions, you expose the hidden seams right in the middle of your workspace.
Once the seams are visible in the center, you can use a soft-bristled clone stamp tool or healing brush to blend the mismatched details together. Modern workflows also benefit from AI-assisted texture-synthesis tools. These emerging utilities can automatically analyze a source bitmap and generate seamless variations in seconds, functioning as a handy supplementary option rather than a replacement for a professionally curated material library.
Looking for a Faster Workflow?
Instead of creating every material manually, use a library of over 4000 ready-to-use materials and import them into your projects in seconds.
Why Your Tiling Texture Still Looks Repetitive
Fixing the technical edge seams does not automatically guarantee a natural look. Often, a surface still looks fake because the human brain easily spots repeating geometric patterns or distinct color blemishes. If a specific knot in a wooden plank or a stain on a concrete tile appears every two meters, the eye locks onto that repetition instantly.
To break up this monotonous repetition, introduce subtle variations into your shader setup. Slight rotation, minor color tint variations, and breaking up the UV scale across adjacent objects will mask the underlying grid. By altering the orientation of individual panels, you ensure that identical texture maps never sit in identical directions, completely fooling the viewer’s eye.
Avoiding Visible Tiling in V-Ray, Corona and Unreal Engine
Even the highest quality tiling textures will show visible patterns if applied incorrectly in your rendering engine or real-time environment. Proper scaling, projection mapping, and procedural randomization are essential final steps in professional 3D production.
Managing Textures in V-Ray
When setting up materials for V-Ray, you must pay close attention to real-world scale dimensions within your bitmap parameters. Utilizing V-Ray’s built-in stochastic tiling or UV randomization nodes helps eliminate repetitive artifacts on large floor and wall surfaces without requiring manual texture edits.
Configuring Materials in Corona Renderer
For artists working with Corona, the CoronaBitmap map offers powerful multi-mapping and randomizing controls. You can easily adjust scaling values, add random offset shifts, and introduce slight color variations per object element to keep massive architectural surfaces looking organic and believable.

Optimizing Textures in Unreal Engine
Real-time environments built in Unreal Engine require careful texture packing and material function design. Using custom material functions that blend multiple texture scales at a distance can completely hide repetitive tiling patterns on large terrain or expansive architectural floors, ensuring top-tier visual fidelity during real-time walkthroughs.
