
 Build Faster with AfterBox
Access over 4000 ready-to-use materials for Unreal Engine, V-Ray and Corona.
Create your account and receive $12 free credit.
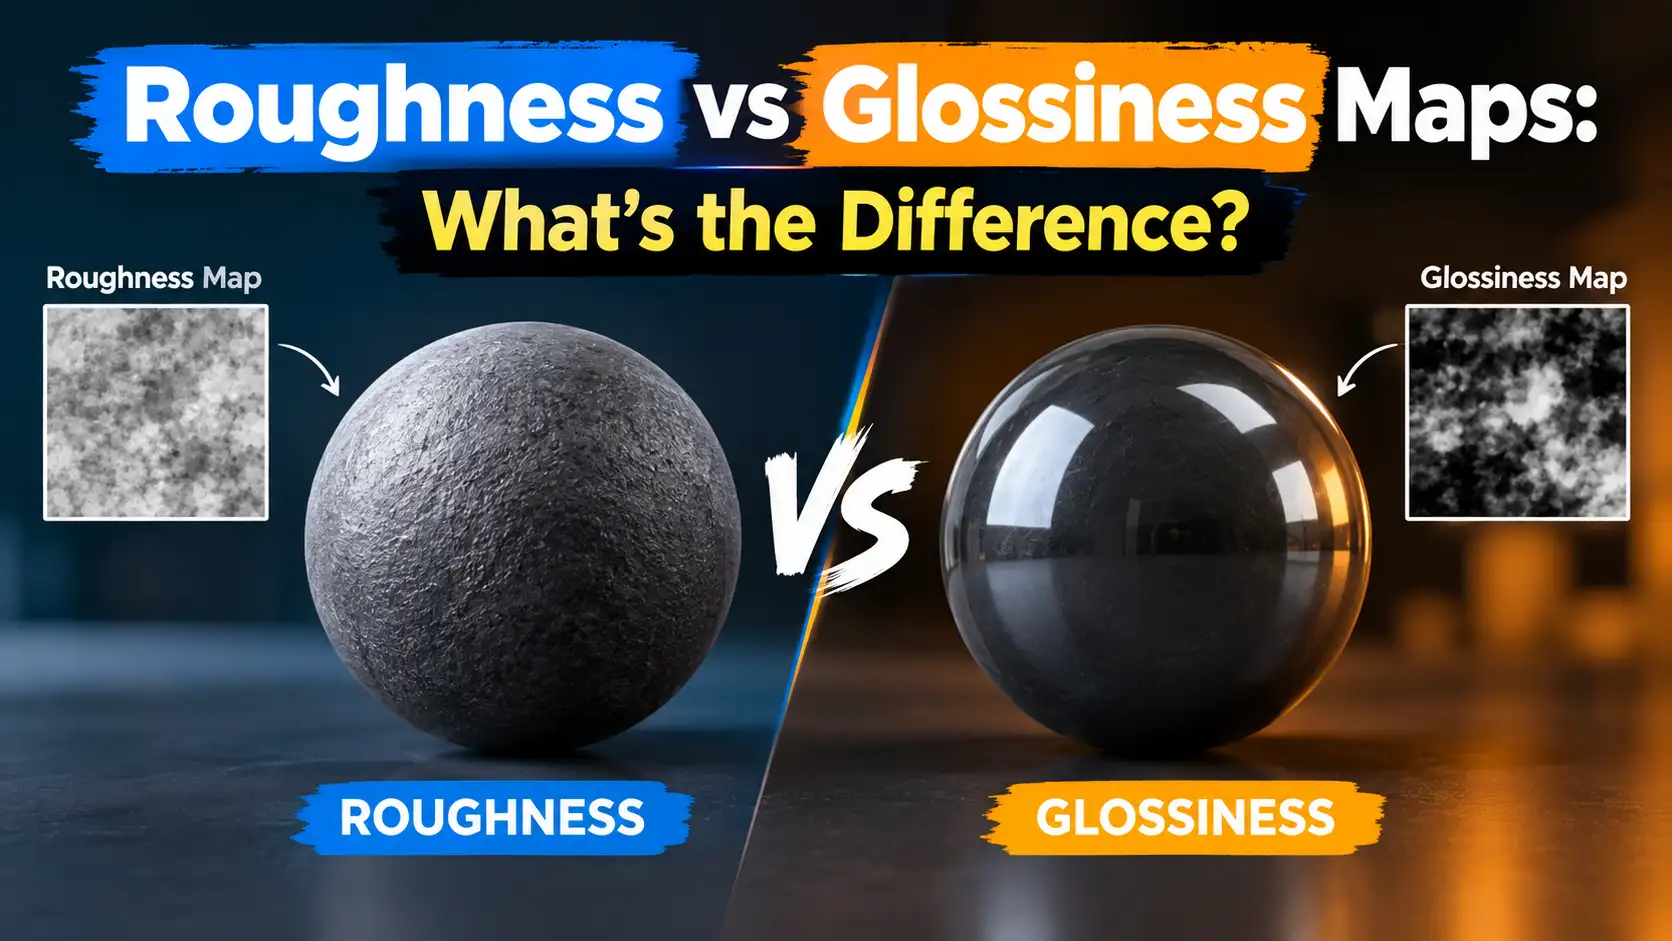
When diving into physically based rendering, managing surface micro-details is essential for achieving photorealism. Artists frequently encounter two primary texture maps that dictate how light scatters across a material. Understanding roughness vs glossiness maps helps you configure your shaders correctly and avoid costly rendering errors.
Both textures control the exact same physical property of a surface: its micro-surface roughness. However, they store and interpret data in opposite ways. Grasping this distinction is vital for anyone building modern asset pipelines.
Roughness Map vs Glossiness Map: What’s the Difference?
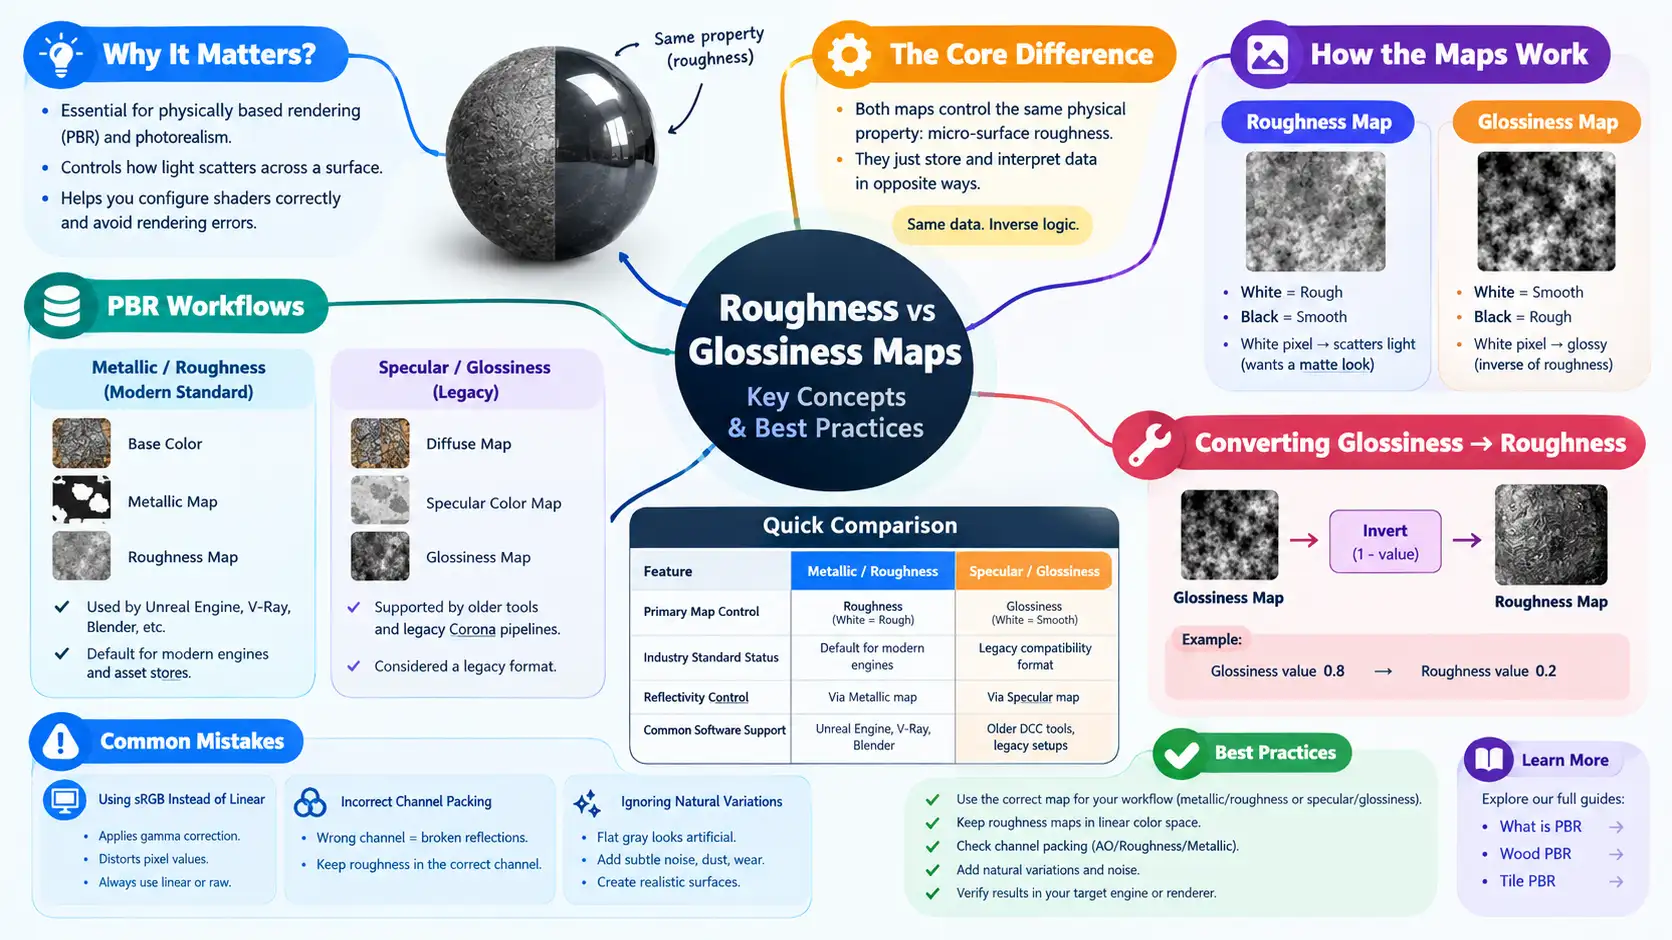
To understand the core differences, we must look at how pixel values translate to surface behavior. A roughness map uses black and white values where white represents maximum roughness and black represents a perfectly smooth surface. Light hitting a white pixel scatters widely, creating a matte appearance.
Conversely, a glossiness map inverts this logic completely. In a glossiness map, white represents a perfectly smooth, glossy surface, while black represents a rough surface. This inverse relationship often causes confusion when transferring assets between different rendering engines or material libraries.
Metallic/Roughness vs Specular/Glossiness Workflows
The 2025-2026 industry landscape shows a decisive consolidation around the metallic/roughness workflow. Modern real-time engines like Unreal Engine and major offline renderers such as V-Ray utilize metallic/roughness as their default standard. This workflow relies on a base color map, a metallic map, and a roughness map.
The older specular/glossiness workflow pairs a diffuse map with a specular color map and a glossiness map. While still supported by older software or specialized legacy Corona pipelines, specular/glossiness is increasingly treated as a legacy-compatibility case. Most contemporary asset stores and texture libraries now ship primarily with roughness maps.
The table below summarizes the key technical differences between these two foundational PBR workflows:
| Workflow Feature | Metallic / Roughness | Specular / Glossiness |
|---|---|---|
| Primary Map Control | Roughness (White = Rough) | Glossiness (White = Smooth) |
| Industry Standard Status | Default for modern engines | Legacy compatibility format |
| Reflectivity Control | Calculated via Metallic map | Controlled via Specular map |
| Common Software Support | Unreal Engine, V-Ray, Blender | Older DCC tools, legacy setups |
Looking for a Faster Workflow?
Instead of creating every material manually, use a library of over 4000 ready-to-use materials and import them into your projects in seconds.
How to Convert a Glossiness Map to Roughness
Converting a glossiness map into a roughness map requires a straightforward mathematical inversion. Because the two maps are direct opposites, you must invert the grayscale values of the texture.
In most image editing software or material node graphs, you can pass the glossiness texture through an invert node or use a math node set to 1 minus the input value. If a pixel in your glossiness map has a value of 0.8, the converted roughness value becomes 0.2.
Failing to perform this conversion results in inverted materials where shiny surfaces become completely matte and rough surfaces turn mirror-like. Always check your channel assignments before finalizing any texture conversion process.
Common Roughness Map Mistakes
Working with surface textures often leads to recurring errors that ruin render quality. Recognizing these mistakes saves considerable troubleshooting time.
Using sRGB Color Space Instead of Linear
Roughness maps contain numerical data rather than artistic color information. Loading a roughness map as sRGB applies gamma correction, which distorts the pixel values and ruins the material’s light response. Always set texture color spaces to linear or raw.
Incorrect Packing in Channel-Packed Textures
Many modern pipelines pack ambient occlusion, roughness, and metallic data into the red, green, and blue channels of a single image. Putting roughness into the wrong channel yields bizarre specular highlights and broken material reflections.
Ignoring Natural Variations
Pure flat gray values across an entire roughness map look artificial. Real-world surfaces accumulate microscopic dust, oil, and wear over time. Adding subtle noise breaks uniformity and yields realistic results.

Summary of PBR Texture Best Practices
Proper texture management ensures consistent visual results across different platforms. When handling complex surface shaders, maintaining clean maps prevents unexpected rendering artifacts.
For a broader look at all texture types used in modern materials, consult our detailed guide on what is PBR. If you are currently texturing architectural elements, you can also explore specific asset setups like our wood PBR materials or examine our tile PBR configurations for precise surface detailing.
