
 Build Faster with AfterBox
Access over 4000 ready-to-use materials for Unreal Engine, V-Ray and Corona.
Create your account and receive $12 free credit.
What Is Cove Lighting?
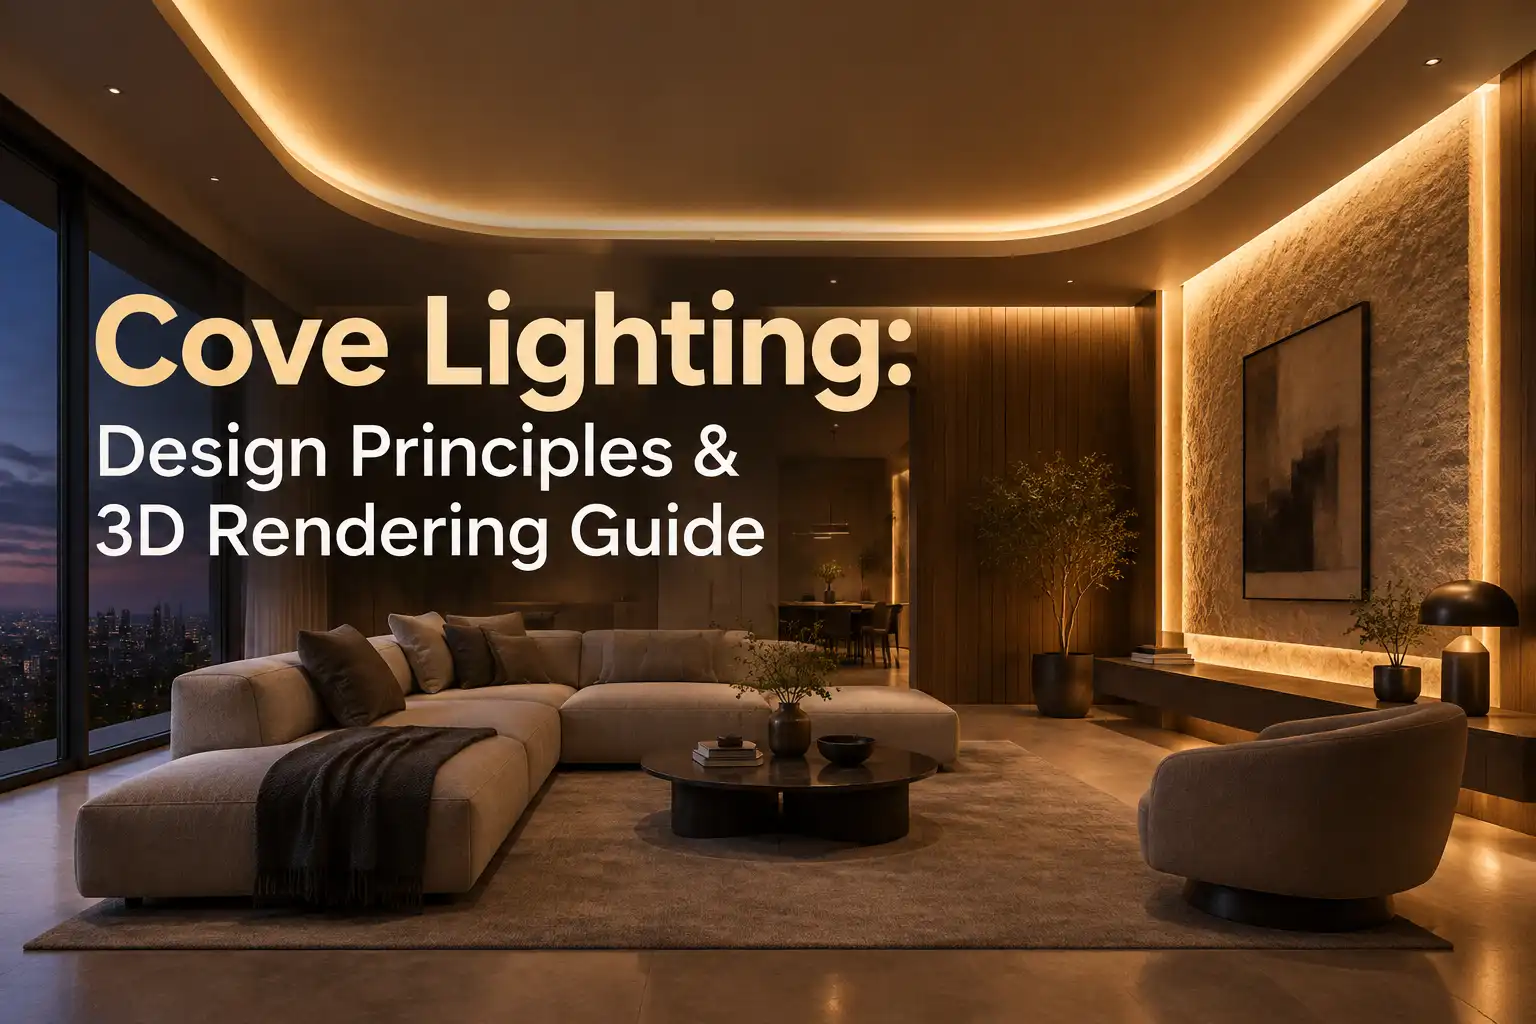
Cove lighting is an architectural technique that conceals light sources within a ceiling pocket, ledge, or recessed architectural recess. This method directs illumination upward toward the ceiling and down adjacent walls. By hiding the direct lamp source, the room receives smooth, uniform illumination that relies entirely on surface reflection. It creates a soft, luxurious ambiance without the glare associated with direct downlights. Understanding cove lighting requires a balanced approach to physical architecture and digital visualization.
In modern interior design, cove lighting serves dual purposes. It acts as ambient illumination to light large rooms evenly, and it functions as a feature element to highlight ceiling geometry. When applied correctly, it transforms rigid architectural boxes into dynamic spaces. Designers often pair this technique with other strategies like wall wash lighting to emphasize vertical textures. Alternatively, combining it with accent lighting helps define focal points in complex layouts.
Cove Lighting Dimensions: The 150mm Rule
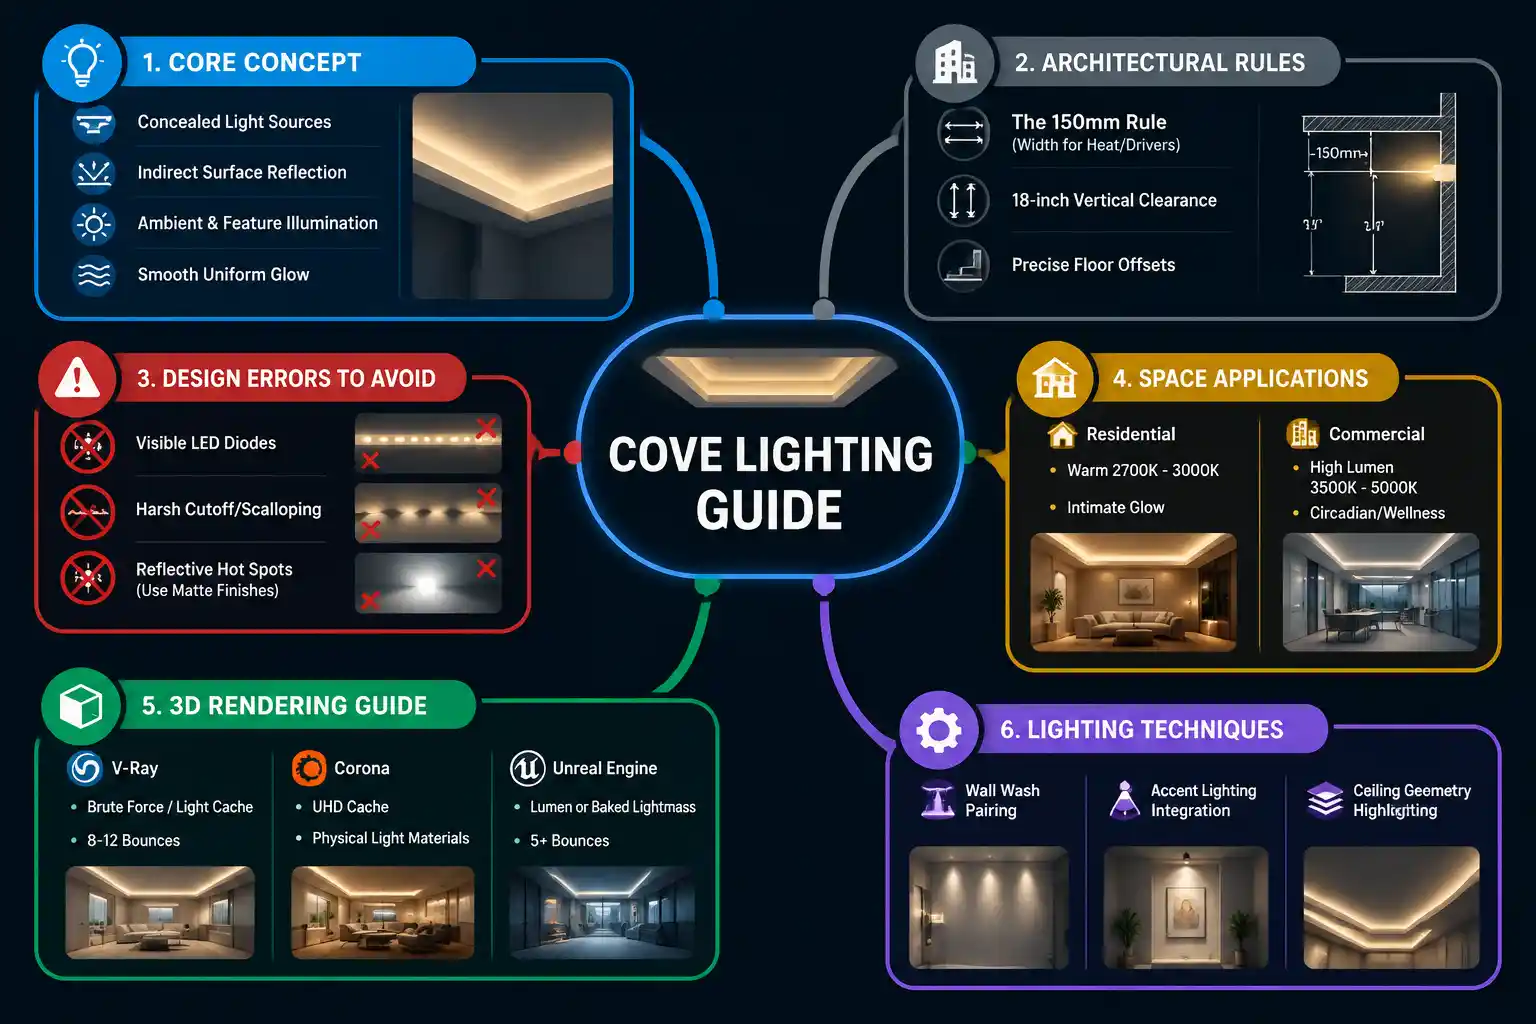
Architectural precision is vital when designing physical lighting pockets. The foundational guideline for builders and designers is the 150mm rule. This rule states that the internal width of the lighting cove should measure at least 150 millimeters. Maintaining this dimension ensures adequate space for LED drivers, wiring, and heat dissipation units. Cramping LED strips into tighter gaps leads to premature thermal degradation and uneven light output.
Alongside the 150mm rule, vertical and horizontal clearances dictate the final quality of illumination. Installers should keep the cove at least 18 inches away from the primary ceiling plane to allow proper light spread. Furthermore, maintain sufficient floor clearance when designing low-level or floor coves. Achieving a smooth gradient depends heavily on these exact physical offsets.
Common Cove Lighting Mistakes to Avoid
Poor planning often results in noticeable visual defects that ruin the architectural aesthetic. Recognizing these errors helps interior designers and 3D visualizers produce clean, professional results.
Visible Lamps
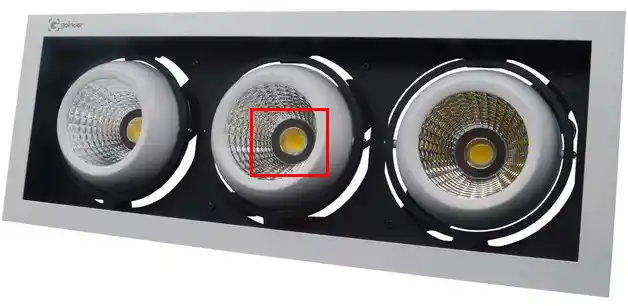
The cardinal sin of cove design is exposing the actual LED diodes or linear fixtures to the viewing angle. If a seated occupant can see the bright point source, the illusion of indirect bounce light shatters. Always recess the light source deep enough behind the lip to block direct line-of-sight.
Harsh Cutoff Lines
Placing linear strips too close to the vertical wall creates sharp, unnatural scalloping or hard cutoff lines. Light needs breathing room to expand. Ensure the trough allows the beam angle to fan out evenly before hitting the upper boundary.
Reflective Hot Spots
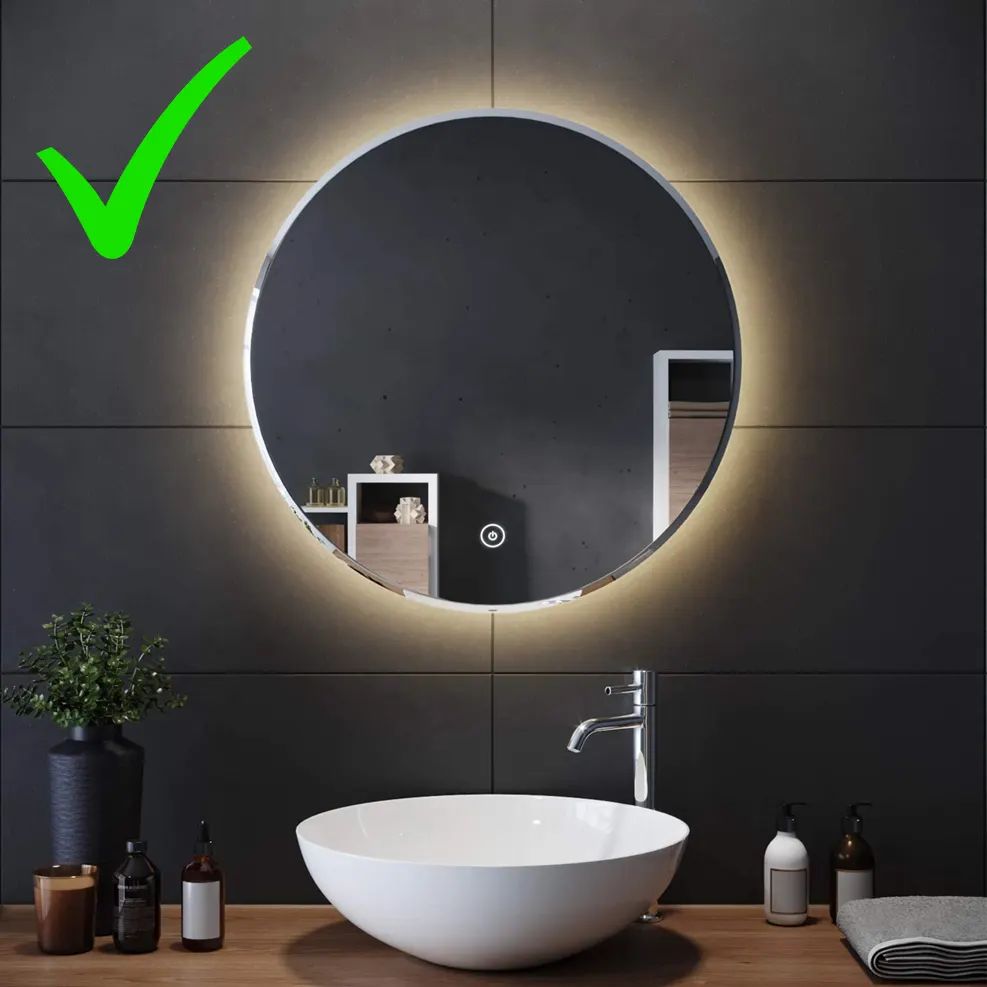
Glossy internal finishes reflect raw LED dots directly outward, creating bright hot spots. Applying a matte white interior finish inside the cove diffuses the harsh output. For physical projects, a high-refectance matte paint is essential. In 3D rendering, ensure your matte ceiling finish material has zero glossiness to replicate this effect accurately.
Looking for a Faster Workflow?
Instead of creating every material manually, use a library of over 4000 ready-to-use materials and import them into your projects in seconds.
Cove Lighting in Modern Homes vs. Commercial Spaces
Lighting requirements change drastically depending on whether a space is residential or commercial. Modern interiors increasingly demand tunable and circadian-friendly LED cove systems. These advanced setups shift color temperature automatically through the day, mimicking natural daylight patterns to boost occupant wellness.
Residential Projects
Homes require cozy, intimate lighting profiles. Residential coves typically use warm color temperatures ranging from 2700K to 3000K in the evenings. During daytime hours, residential wellness systems may shift toward a crisp 4000K to support focus. Cove dimensions in homes are usually smaller, prioritizing soft aesthetic glows over high lumen output.
Commercial Spaces
Commercial offices, retail stores, and hospitality venues demand robust illumination. These environments utilize higher lumen packages and wider physical coves. Commercial circadian lighting systems shift dynamically from 3500K to 5000K to maintain workplace alertness. Thermal management is critical here because commercial coves often stay powered for twelve to sixteen hours daily.
Simulating Indirect Bounce Light in V-Ray, Corona and Unreal Engine
Replicating real-world indirect bounce light in architectural visualization requires careful renderer configuration. Standard direct lights fail to capture the subtle color bleeding and soft gradients of real coves.
V-Ray Settings
When working with V-Ray, configure your global illumination engine with Brute Force or Irradiance Map combined with Light Cache. Increase the secondary bounces to at least 8 to capture multiple light reflections. Use a high-intensity self-illuminated material or a standard V-Ray Light strip placed inside the cove geometry.
Corona Renderer Settings
In Corona, the default UHD Cache handles indirect bounce light exceptionally well. Ensure your light solver is active and increase the GI ray length if the light fails to travel down long corridors. Corona’s physical light materials interact naturally with diffuse surface shaders to produce realistic soft shadows.

Unreal Engine Settings
For real-time visualization using Unreal Engine, configure your GI through Lumen or traditional baked Lightmass. If using Lumen, enable high-quality translucent lighting and increase virtual shadow map resolution. For baked lighting, set static indirect lighting bounces to a minimum of 5, and increase the lightmap resolution on surrounding ceiling panels to eliminate blotchy indirect artifacts.
Summary of Cove Lighting Rendering Parameters
The table below outlines the core settings required to accurately simulate cove lighting across different rendering engines.
| Render Engine | Primary GI Engine | Secondary GI Engine | Recommended Bounces |
|---|---|---|---|
| V-Ray | Irradiance Map / Brute Force | Light Cache | 8 to 12 Bounces |
| Corona Renderer | UHD Cache | Path Tracing | Default (Adaptive) |
| Unreal Engine | Lumen / Lightmass | Ray Traced GI | 5+ Baked Bounces |
